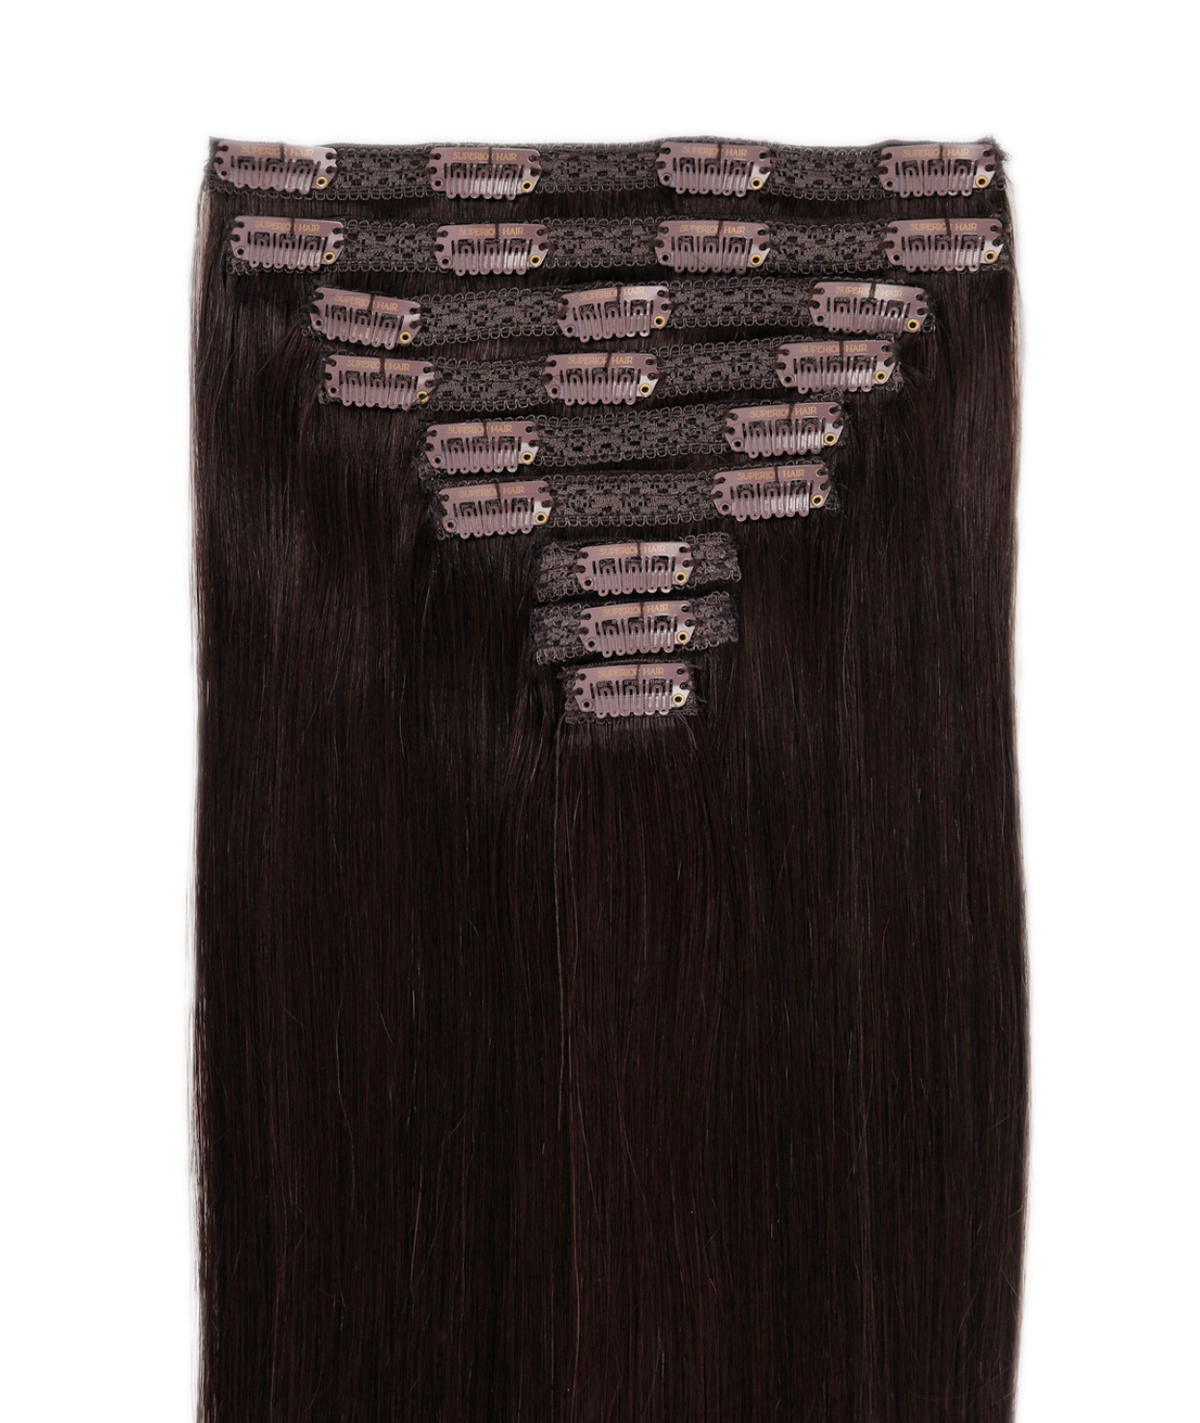

Ultra Seamless Tape-In Hair Extensions: The Complete NZ Guide
Quick answer
Ultra seamless tape in extensions are 100% Remy human hair wefts, 4cm wide, bonded above and below a section of your own hair in a sandwich. The bond is thinner and lighter than traditional tape, so it lies flat and stays hidden. A stylist installs them, and they sit 8 to 10 weeks before repositioning.
Most people asking us about tape-ins have already had a bad experience with a bulky bond, or have fine hair and been told extensions are not for them. Ultra seamless tape-ins exist for that gap. This guide covers what they are, the weights and lengths Superior Hair actually makes, who they suit, how installation and the move-up cycle work, and the aftercare that decides whether you get one wear out of a set or four.
In this guide
- What ultra seamless tape-in extensions actually are
- Lengths, grams and how a set is built
- Who they suit, and who should look at something else
- How installation works
- Colour matching without guessing
- How long they last and the move-up cycle
- Aftercare that protects the bonds
- What they cost over time
- Frequently asked questions
New to semi-permanent extensions?
Tape-ins are one of several professionally installed methods, alongside nano tips, hot fusion U-tips and wefts. Seeing them side by side makes the choice a lot clearer.
Browse the semi-permanent extension range →What ultra seamless tape-in extensions actually are

An ultra seamless tape-in is a flat weft of human hair, 4cm wide, with a thin adhesive strip along the top edge. Your stylist takes a fine section of your own hair, places one weft underneath and one on top, and presses them together. Your hair sits sealed between the two. That is the sandwich, and it is why tape-ins hold without beads, heat or thread.
The word ultra seamless refers to the bond itself. A traditional tape weft has a thicker adhesive base and a visible sew line where the hair is attached. Ultra seamless bonds are significantly smaller and lighter, with no sew line, so the weft lies flush against the head instead of standing off it. Run your fingers over a well-placed set and you feel a slight ridge, not a lump.
The hair matters as much as the bond. Every Superior Hair set is 100% Remy human hair, so the cuticles are intact and all running the same direction from root to tip. That is not a marketing distinction. Cuticles facing opposite ways catch on each other, and that is what leaves a set matted at the nape after three washes.
Lengths, grams and how a set is built
Every pack of Superior Hair ultra seamless tape-ins contains 10 wefts, which is 5 sandwiches. The wefts are 4cm wide across all lengths, so what changes between sizes is the weight of hair on each weft.
| Length | Total pack weight | Per weft | Typically chosen for |
|---|---|---|---|
| 14 inch | 22g | 2.2g | Thickness through a bob or lob, minimal added length |
| 18 inch | 28g | 2.8g | Most requested; roughly collarbone to mid-chest |
| 22 inch | 30g | 3.0g | Noticeable added length, still manageable weight |
| 26 inch | 35g | 3.5g | Dramatic length; needs natural density to carry it |
Notice how little the weight climbs relative to length. A 26 inch weft carries 3.5g against 2.2g at 14 inch, because the hair gets longer rather than thicker. That is what keeps long tape-ins from dragging at the root.
How many packs you need is not something to work out from a website. It depends on your natural density, your target length, and how much of the head your stylist can safely section. That is a consultation decision. Bring photos of the result you want, not a pack count.
Who they suit, and who should look at something else
Ultra seamless tape-ins suit almost every hair type, thin through to thick. They are the least damaging semi-permanent method because there is no heat, no bead compressing the hair shaft and no single-strand tension point. The load spreads across a 4cm bond instead of concentrating.
They are not automatically the right call, though. If your hair is genuinely fine and you can see scalp through it when it is parted, an even thinner bond will hide better. That is what the invisi-tape skin weft range is built for: the bond mimics hair emerging from the scalp, and the wefts come in 18 to 20 inch at 28g. The tradeoff is fewer length options and up to three reapplications rather than four.
| Ultra seamless tape-in | Invisi-tape skin weft | |
|---|---|---|
| Lengths | 14, 18, 22 and 26 inch | 18 to 20 inch |
| Wear per application | 8 to 10 weeks | 6 to 10 weeks |
| Reapplications | Up to four with proper care | Up to three with proper care |
| Best for | Most hair types wanting length and thickness | Finer hair where bond visibility is the priority |
Two other honest limits. Tape-ins need enough hair at the sides and nape to anchor into and stay covered, so very short hair usually has to grow first. And if you are dealing with active shedding or patchy loss rather than simply wanting more hair, see a doctor before adding weight at the root.
Budget is a real constraint too, and it need not mean going without. The value grade ultra seamless tape-in range uses the same bond construction at a lower price point, which suits a first set or an occasional wearer.
How installation works
Ultra seamless tape-ins are installed by a salon professional. Bond placement decides whether the set is invisible or obvious, and how much tension sits on each section. Too close to the parting, the bonds show. Too close to the scalp, they pull. Sectioned too thick, they slip.
Come with freshly washed hair and no product in it. Residue, silicone or oil on the hair shaft weakens the adhesive and the set loosens early. Do not colour or chemically treat your hair in the 24 hours before application, or in the 48 hours after.
Your stylist works in horizontal rows from the nape upward, taking fine sections, placing the lower weft, laying your hair over it and sealing the upper weft on top. Rows stop well short of the parting and hairline so nothing shows when your hair moves. If you are booking through us, the extension installation service page sets out how appointments run.
One rule people forget: wait at least 24 hours before washing, so the adhesive cures fully, and keep your hair down for the first week rather than tying it up.
Not sure which shade you need?
There are over forty colours in the ultra seamless range, including root-shadowed and highlighted blends. The colour guide shows every shade photographed on real hair so you can narrow it down before you order.
See the ultra seamless colour guideColour matching without guessing

More sets look wrong because of colour than anything structural. Match to your mid-lengths and ends rather than your roots, since that is where the extension hair sits. If you wear a shadowed or grown-out root, matching to the root leaves the extensions reading too dark from the ears down.
Judge shades in daylight, never under bathroom lighting, and hold the hair flat against your own rather than in front of it. Multi-tonal hair rarely matches a single shade, which is why the range includes blended and highlighted options like #2 dark brown alongside two-tone mixes. Mixing two shades across a set is normal and usually looks more natural than one flat colour.
If you are ordering online and want certainty, use the colour match service. Send a daylight photo of your hair down and dry, and you get a recommendation back rather than a coin flip.
How long they last and the move-up cycle
There are two timelines here and people mix them up constantly. The first is how long a set stays in before it needs repositioning: 8 to 10 weeks. Your own hair grows during that time, so the bonds travel down away from the scalp and start to become visible and to swing. At that point your stylist removes them, cleans the bonds, retapes and reinstalls closer to the root. That is a move-up, not a new set.
The second is the life of the hair itself. Ultra seamless tape-ins are reusable for up to four applications with proper care, so one set of hair can carry you through several move-up cycles. Care is doing real work in that sentence. A set that gets brushed wet, washed daily and conditioned at the bonds will not reach four. For a fuller breakdown, read how long tape-in extensions last.
Aftercare that protects the bonds

Nearly every aftercare rule traces back to two facts: adhesive dissolves in oil, and wet hair stretches.
Wash less than you think you need to. Use a sulphate-free shampoo and alcohol-free products, and reach for dry shampoo between washes instead of washing daily. Keep conditioner and masks on the mid-lengths and ends, never near the roots or the bonds.
Watch your oils. Coconut oil based products break down tape adhesive. Argan oil based ones are fine. This is the single most common cause of a set slipping weeks early.
Never brush wet hair. A brush through wet hair pulls straight at the bonds. Use an extensions-friendly brush on dry hair, hold above the bond, and work from the ends up. Do not rub with a towel either.
Heat protectant, and keep heat off the bonds. The hair is human and will take a straightener or a wand, but the adhesive will soften if you run a hot tool over it. Style from below the bond line and always use a protectant.
Braid at night. A loose braid stops eight hours of friction turning into tangling at the nape. More detail in our complete tape-in aftercare guide.
What they cost over time
The honest way to think about cost is per year, not per purchase. There are three parts: the hair, the installation, and the move-up appointments every 8 to 10 weeks. The hair you buy once and reuse up to four times. The appointments repeat.
That is why aftercare carries a dollar value. Getting four applications out of a set instead of two halves the hair cost over the same period, and the difference is mostly which shampoo you used and whether oil got near the bonds.
If the ongoing appointment commitment does not suit you, that is a fair conclusion. Clip-ins give you length for an event with no salon visit and no cycle, and starting there and moving to tape-ins later is perfectly normal.
Ready to choose your set?
Four lengths, over forty colours, 100% Remy human hair, and the least damaging semi-permanent bond we make.
Shop ultra seamless tape-in extensions →Frequently asked questions
Can I install ultra seamless tape in extensions myself?
No. Ultra seamless tape-ins should be installed by a salon professional. Bond placement determines whether the set stays hidden and how tension is distributed across your natural hair, and sectioning too thickly causes slipping. Removal also requires a proper bond remover. Book with a trained stylist rather than attempting it at home.
How long do ultra seamless tape in extensions last?
Each application sits 8 to 10 weeks before the bonds need repositioning closer to the root. The hair itself is reusable for up to four applications with proper care, so a single set can carry through several move-up cycles before it needs replacing. Poor aftercare, particularly oil-based products, shortens both timelines.
Do ultra seamless tape in extensions damage your hair?
They are the least damaging of the semi-permanent methods because there is no heat, no bead and no single-strand tension point. The load spreads across a 4cm bond. Damage usually comes from sections taken too small for the weft weight, bonds left in past 10 weeks, or brushing wet hair, rather than from the method itself.
What is the difference between ultra seamless and invisi-tape extensions?
Ultra seamless tape-ins come in 14, 18, 22 and 26 inch, wear 8 to 10 weeks and reapply up to four times. Invisi-tape skin wefts use an even thinner bond designed to mimic hair growing from the scalp, come in 18 to 20 inch, wear 6 to 10 weeks and reapply up to three times. Choose invisi-tape if bond visibility on fine hair is your main concern.
How many wefts come in a pack?
Each pack contains 10 wefts, which makes 5 sandwiches, with every weft 4cm wide. Pack weights run 22g at 14 inch, 28g at 18 inch, 30g at 22 inch and 35g at 26 inch. How many packs a full head needs depends on your natural density and target length, so confirm it at consultation.
Can I colour ultra seamless tape in extensions?
The hair is 100% Remy human hair, so a stylist can tone or darken it, but never lighten it and never let colour touch the bonds. Do not colour your own hair in the 24 hours before application or the 48 hours after. Any colour work on the extensions should be done by a professional, off the head where possible.