
The Ultimate Bombshell Blowout Guide with Hair Extensions – Inspired by Sabrina Carpenter

Photo: Cosmopolitan
Big, glossy, unapologetically voluminous hair is having a moment again—and no one is wearing it quite like Sabrina Carpenter. Her signature blowout strikes that perfect balance between polished and playful: lifted at the roots, smooth through the lengths, and finished with soft, bouncy movement.
The good news? You don’t need a salon booking to get the look. With the right prep, tools, and technique, you can recreate that bombshell blowout at home—and tailor it to your own hair type and length (yes, even if you’re using extensions).
Why This Blowout with Extensions Works
What sets this style apart from a standard blow-dry is its structure. It’s not just about drying your hair—it’s about building shape from the roots, creating direction through the mid-lengths, and locking in that signature curve at the ends.
Think:
- Volume without frizz
- Smoothness without flatness
- Movement that lasts beyond the first hour
It’s a modern take on classic ‘90s glamour, softened for everyday wear.
Blowout Prep with Hair Extensions for the Best Foundation
A long-lasting blowout always begins before you even pick up a brush.
Freshly washed hair is ideal, but what matters more is how you prepare it. Hydration and protection are key here—you want your hair to feel soft and manageable, but not weighed down.
Work a lightweight heat protectant evenly through damp hair, focusing on mid-lengths and ends. This not only shields your strands from damage but also helps create that silky finish the style is known for.
If your hair tends to fall flat, now’s the time to introduce a volumising product at the roots. Keep it concentrated near the crown—too much through the lengths can reduce movement.
Blowout Rough Dry Techniques for Volume and Extensions
Before going in with a styling brush, remove most of the moisture using your fingers and a hairdryer.
Flip your head upside down or direct airflow upward at the roots to encourage natural lift. This step is often rushed, but it makes a noticeable difference—think of it as setting the stage for volume before refining the shape.
Aim to get your hair about 70–80% dry before sectioning.
Blowout Sectioning Tips for Seamless Extensions Blending
One of the biggest differences between a flat blow-dry and a full-bodied one is sectioning.
Divide your hair into clean, manageable layers—typically:
- Bottom (nape area)
- Middle (around the ears)
- Top (crown and front sections)
Clip each section neatly. Working in smaller sections allows you to control tension and direction, which is essential for that smooth, lifted finish—especially when blending extensions.
Blowout Styling Techniques with Extensions for Maximum Volume
Now comes the defining step: shaping the blowout. Using a round brush or a blowout brush, start at the bottom section and work your way up. The key is tension and direction.
Lift at the Roots
Lift the hair upwards and slightly back from the face. This creates height and prevents the style from sitting flat against your scalp.
Smooth Through the Lengths
Glide the brush slowly while following with the nozzle of your dryer. Keep the airflow directed downward to smooth the cuticle and enhance shine.
Curve the Ends
Roll the brush under and hold for a few seconds with heat before releasing. This is what creates that soft, curved bounce—not tight curls, just a subtle flick.
Take your time here. Rushing leads to frizz and uneven shape, while controlled, consistent passes create that signature polished finish.
Blowout Face-Framing Techniques with Extensions
The front sections frame your face and define the overall look, so give them extra attention.
Blow-dry these pieces away from your face for that effortless, open feel. You can also slightly over-direct them (pulling them in the opposite direction before releasing) to create extra lift and movement.
This is where the “bombshell” effect really comes to life.
Blowout Setting Methods to Lock in Extensions Volume
Here’s the step most people skip—and why their blowout doesn’t last.
Once each section is dry and shaped, allow it to cool in place. You can:
- Twist sections loosely and clip them
- Or use velcro rollers for added volume
Cooling helps lock in the shape, meaning your hair holds its bounce for hours (or even days).
Even a few minutes makes a difference, so don’t skip it.
Blowout Finishing for Soft, Bouncy Extensions
Once your hair has completely cooled, gently brush through using a soft bristle or wide paddle brush.
This might feel counterintuitive after all that styling, but it’s what transforms structured sections into a seamless, flowing blowout.
The result? Soft, airy movement with that effortless, undone feel—never stiff or overly “done.”
Blowout Finishing Touches for Polished Extensions
Now it’s all about refinement.
A lightweight serum or shine spray can be smoothed through the ends to enhance gloss and tame any flyaways. Keep it minimal—you want bounce, not heaviness.
If you like a bit more hold, a flexible hairspray will help maintain volume without compromising movement.
Boost the Crown
For extra lift, gently tease the crown and smooth over the top layer for a polished finish.
Blowout with Extensions: Enhancing Volume and Length
If your natural hair struggles to hold volume or lacks thickness, extensions can take this look to another level.
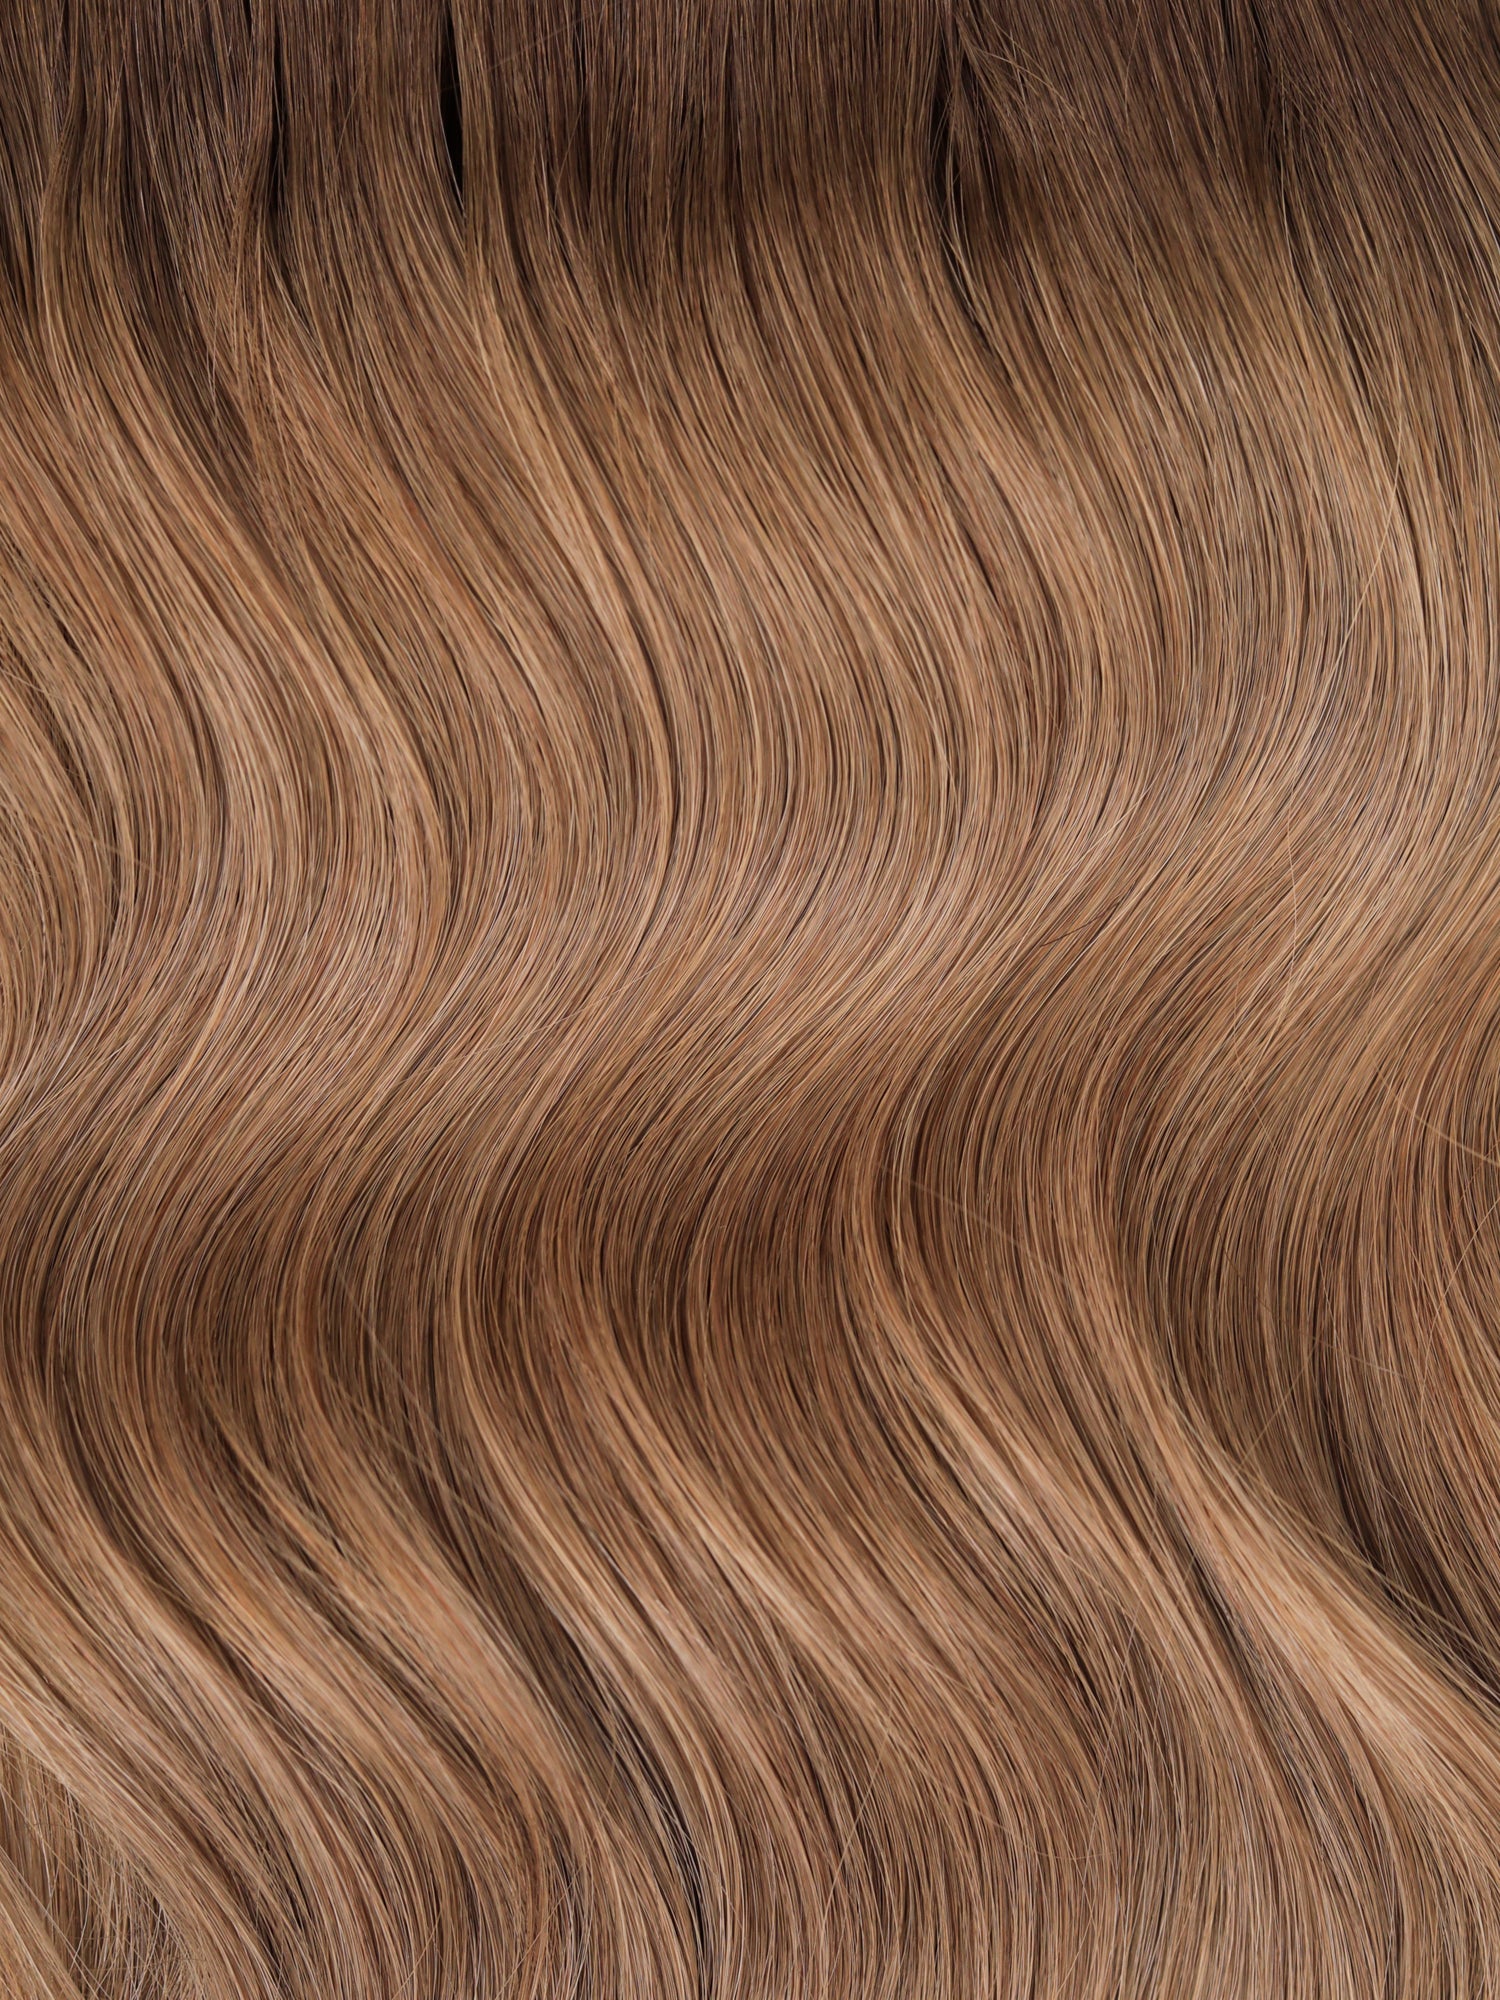
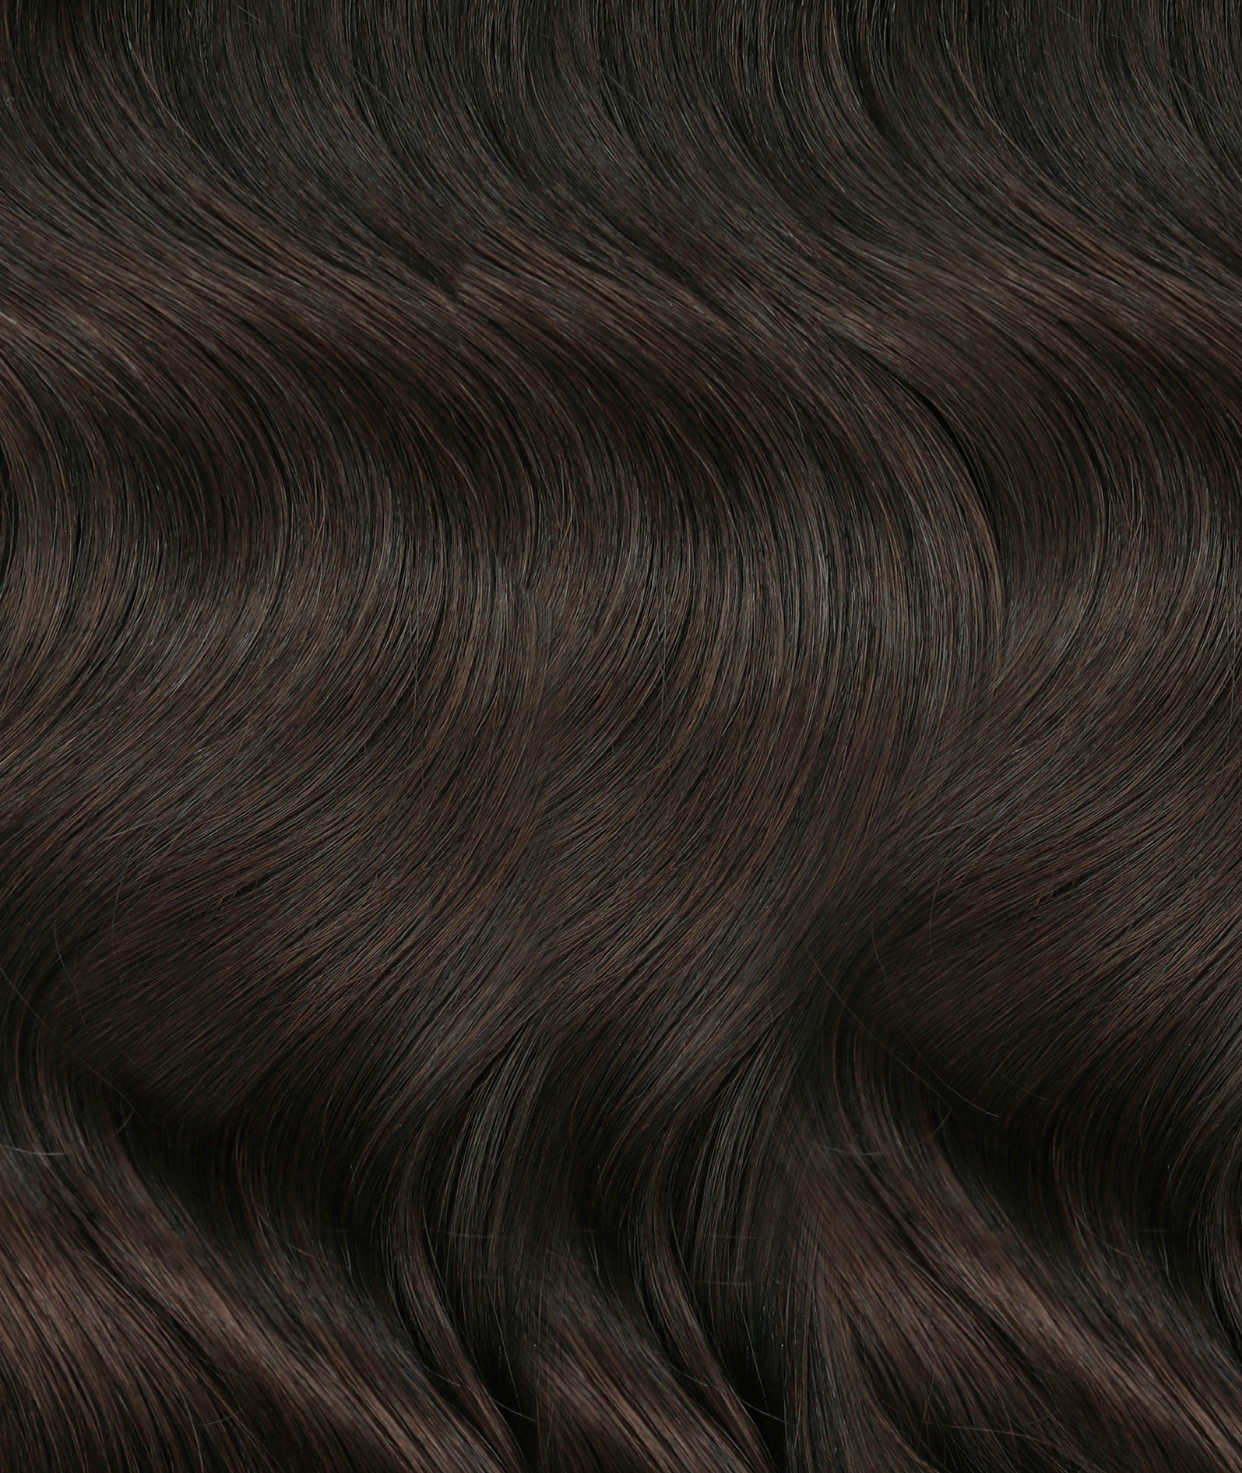
Clip-in or tape-in extensions add density, which naturally enhances the fullness of a blowout. They also help the style hold its shape longer, especially through the ends where that signature bounce sits.
Blend Seamlessly
- Choose extensions that match your texture and colour
- Style them together with your natural hair
- Focus on creating a seamless transition
When done right, extensions don’t just add length—they amplify the entire silhouette of the blowout.
Blowout Maintenance Tips for Extensions Longevity
A great blowout shouldn’t disappear after a few hours. With the right care, you can extend it for days.
- Sleep with your hair loosely tied or wrapped to maintain shape
- Use dry shampoo at the roots to refresh volume
- Avoid excess moisture or humidity where possible
- Lightly restyle the front pieces if needed
The beauty of this look is that it often gets better on day two—so don’t be afraid to embrace a slightly lived-in finish.
Final Thoughts on the Blowout with Extensions Look
The Sabrina Carpenter-inspired blowout is more than just a hairstyle—it’s a statement. It’s confident, feminine, and undeniably glamorous, while still feeling wearable for everyday life.
By focusing on preparation, technique, and setting the style properly, you can recreate that soft, voluminous finish at home—no salon required.
Whether you’re working with your natural hair or enhancing it with extensions, the goal remains the same: lift at the roots, smoothness through the lengths, and that iconic bounce at the ends.
Once you’ve mastered it, this is the kind of effortlessly glamorous style you’ll reach for time and time again. Complete the look with Superior Hair’s Classic Clip-In Hair Extensions for added volume, length, and that signature bombshell finish.