
How to Apply Clip-In Extensions: A Step-by-Step Placement Map
Quick answer
To apply clip in extensions, brush out tangles, then part a horizontal section at the back of your head just below the occipital bone. Lightly tease the roots, clip in the widest weft, and work upward in rows about two fingers apart. Finish with smaller wefts above each ear, keeping a cover layer of your own hair on top.
Most clip-ins that look obvious are not the wrong colour or the wrong hair. They are in the wrong place. Learning how to apply clip in extensions is really learning where each weft belongs on your head, and once you have that map memorised, a full set goes in quickly and stays hidden all day. This guide walks you through every zone, every step, and the small adjustments that change the map for fine, thick or shorter hair.
In this guide
- Before you start: what is in your set
- The clip-in placement map, zone by zone
- How to apply clip in extensions, step by step
- Adjusting the map for your hair type
- Blending colour, length and texture
- Common placement mistakes and how to fix them
- Taking them out and looking after them
- Clip-in extension FAQs
Before you start: what is in your set
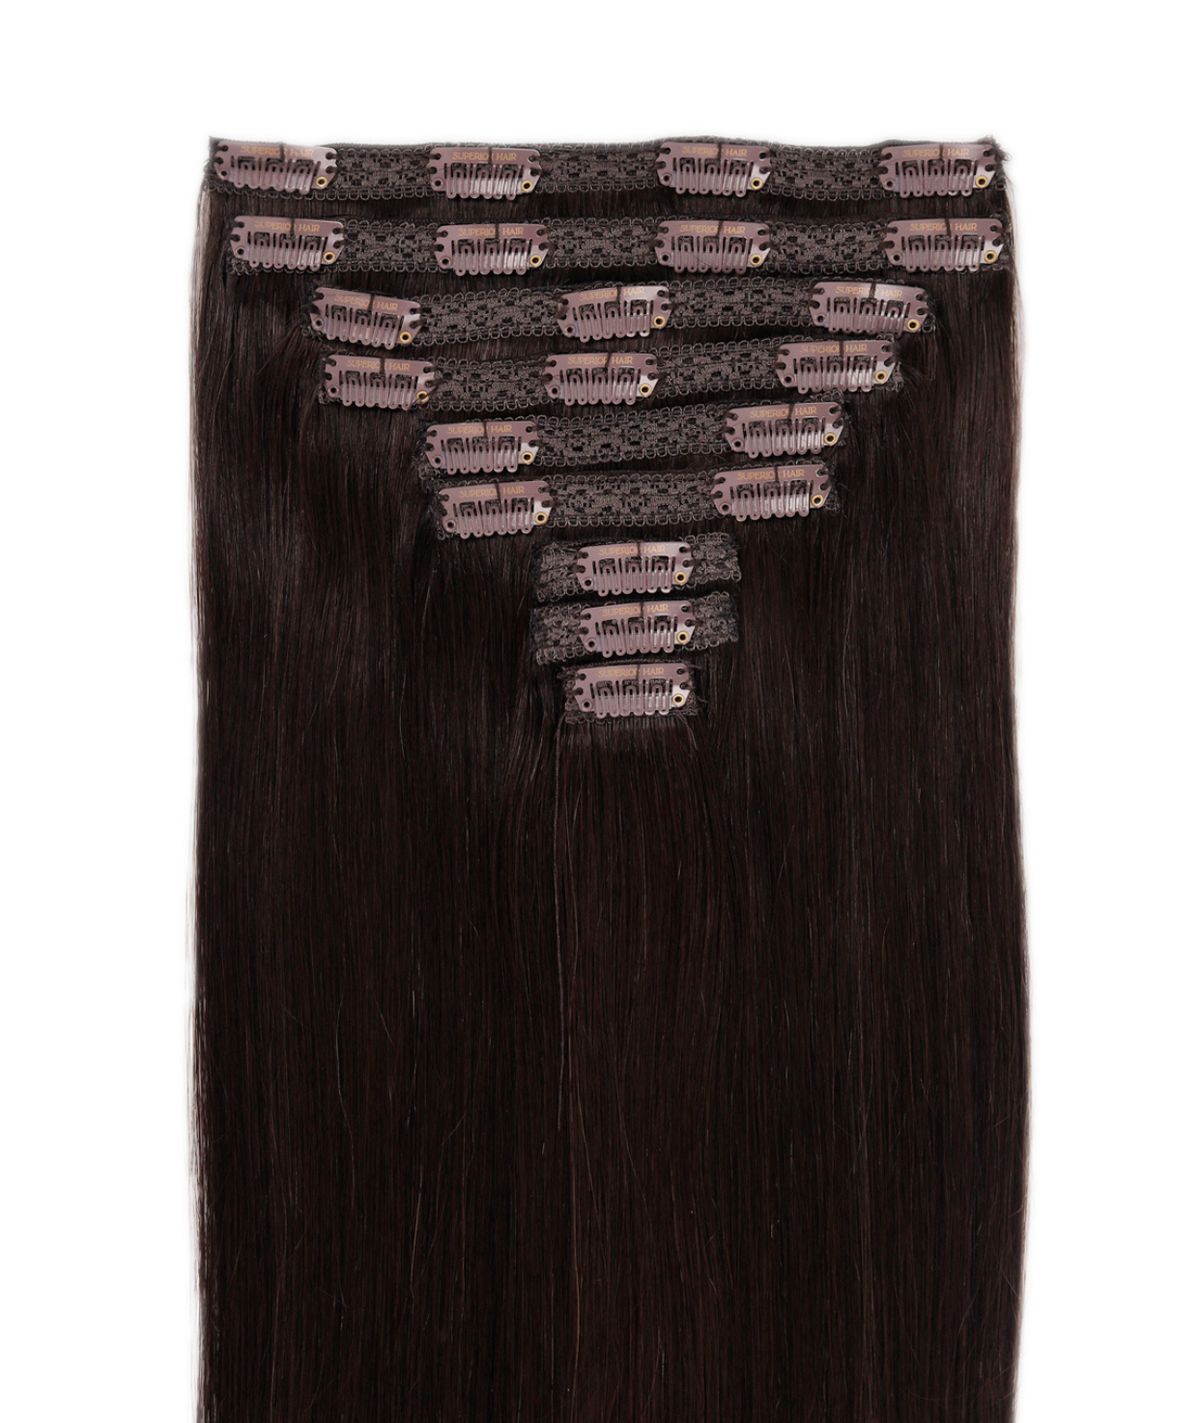
Lay every weft out on a clean towel, widest to smallest. A clip-in set is made of graduated wefts: wide pieces for the back, medium pieces above them, and small pieces for the sides and face. With Superior Hair sets, one of the small 1.5-inch wefts sits on top of the pink box for colour matching. It is part of your full set, so do not put it aside.
How many wefts you have, and how much hair is on each, decides how many rows your map can hold. Here is how the three main Superior Hair clip-in lines compare.
| Set | Pieces | Weight range | Best for | How the map changes |
|---|---|---|---|---|
| A Grade Clip-Ins | 7 | 80g to 100g | Fine or thin hair | Two back rows plus sides; the top row is often skipped |
| Classic Clip-Ins | 9 | 105g (16") to 145g (26") | Thin to medium hair | The full map: three back rows, sides and face frame |
| Seamless Clip-Ins | 10 | 160g (16") to 240g (24") | Medium to thick hair | The full map plus an optional nape weft; thin silicone wefts lie flatter |
If you are still choosing between the two thicker options, our comparison of seamless vs classic clip-in weft construction explains how the silicone base changes the way a weft sits against your head.
New to extensions?
Clip-ins are one of several ready-to-wear options you can put in and take out at home, with no salon appointment and no bonds. See how they compare with halos, ponytails and buns before you commit.
Browse the ready-to-wear extensions range →The clip-in placement map, zone by zone

Think of your head in horizontal bands, built from the bottom up. The widest wefts go low, where your head is widest and the most hair sits above to hide them, getting narrower as you climb and move to the sides. Leave about two finger-widths (2 to 3 cm) between rows.
| Zone | Where it sits | Which weft | Why it goes here |
|---|---|---|---|
| 1. Lower back | A straight line just below the occipital bone (the bump at the back of your skull), stopping 2 to 3 cm in from each ear | Your widest weft | The widest part of your head, with the most hair above to cover it |
| 2. Mid back | Two finger-widths above Row 1 | The next widest weft | Builds density through the back, where length is seen most |
| 3. Upper back | Another two finger-widths up, at least 3 cm below your crown and parting | A medium weft | Fills out the top layer while leaving hair to cover the clips |
| 4. Sides | Just above and slightly behind each ear, angled to follow the curve of your head | A matching pair of small wefts | Carries length forward so it does not stop behind your ears |
| 5. Face frame (optional) | Behind the hairline at the temple, under the top layer | The smallest wefts, including the 1.5-inch | Softens the line around your face and fills any gaps |
The rule that overrides everything: always leave a cover layer. Your top section, from crown to parting, stays free of clips. Steal from it to fit one more piece and the whole set shows.
How to apply clip in extensions, step by step

Work in front of a mirror, with a hand mirror for the back. Your first attempt will feel slow; within a few tries the map becomes muscle memory.
1. Start with dry, detangled hair
Clips grip poorly on damp or freshly conditioned hair. Brush out every tangle from ends to roots. Second-day hair, with a little natural grip, is often easier to work with.
2. Part Row 1 and pin the rest up
Use the tail of a comb to draw a clean horizontal part just below your occipital bone. Twist everything above it up and out of the way. A few sectioning clips, like the croc clips in our extension tools and accessories, keep the line clean so stray hair does not get caught under the weft.
3. Give the roots some grip
Lightly backcomb a narrow strip along the part, right at the root, or mist it with a little dry texture spray. This gives the clip teeth something to hold and stops wefts sliding, especially on fine or silky hair.
4. Open the clips and place the weft
Snap every clip open by bending it back. Hold the widest weft with the comb teeth facing your scalp and the clips pointing down. Line it up just under the part, then slide the centre clip into the hair at the root and snap it shut. Do the outer clips next. Starting from the centre keeps the weft straight and even.
5. Tug test, then drop the next section
Give the weft a gentle pull. It should feel secure without pinching. Let down a band of hair about two finger-widths deep so it falls over Row 1, part again, and repeat steps 3 and 4 with the next widest weft. Continue up to Row 3.
6. Finish the sides and face
Section just above each ear and place a matching small weft on each side, angled slightly to follow your head. If you are using face-framing pieces, tuck them under the top layer near the temple. Check both sides in the mirror so the length looks even.
7. Let everything down and blend
Release your top layer and brush through from the ends upward with a loop brush, which glides over wefts without snagging. Then style your hair and the extensions together.
Not sure of your shade?
Perfect placement still shows if the colour is off. Send our team a photo of your hair in natural light and we will match you to the right shade before you order.
Get your free colour matchAdjusting the map for your hair type
The five-zone map is a starting point. Your density and length decide how many rows you can hide.
Fine or thin hair
You have less of your own hair to cover each weft, so use fewer, lighter pieces. A 7-piece A Grade clip-in set is built for this. Keep to Rows 1 and 2 plus the sides, spread the rows a little further apart, and always tease the root. Too many wefts on fine hair adds weight at the clip point and makes the lines easier to spot.
Medium hair
This is the hair the full map is built for. A 9-piece classic set fits all five zones, with enough of your own hair left on top to hide the upper row.
Thick or coarse hair
Thick hair can swallow a light set and leave a visible step where the extensions start. Choose more hair per weft with seamless clip-in extensions, and consider a small extra weft at the nape, below Row 1, so the density carries all the way down.
Shorter or layered hair
At shoulder length or shorter, the jump between your ends and the extensions is the challenge, not the clips. Keep the wefts slightly lower, start with a shorter length, and curl everything together. A stylist can also cut the extensions into your shape.
Unsure how many wefts or grams you actually need for your density? Our guide to how many packs of hair extensions you need breaks it down by hair type.
Blending colour, length and texture
Placement hides the clips. Blending hides the extensions. Three things matter most.
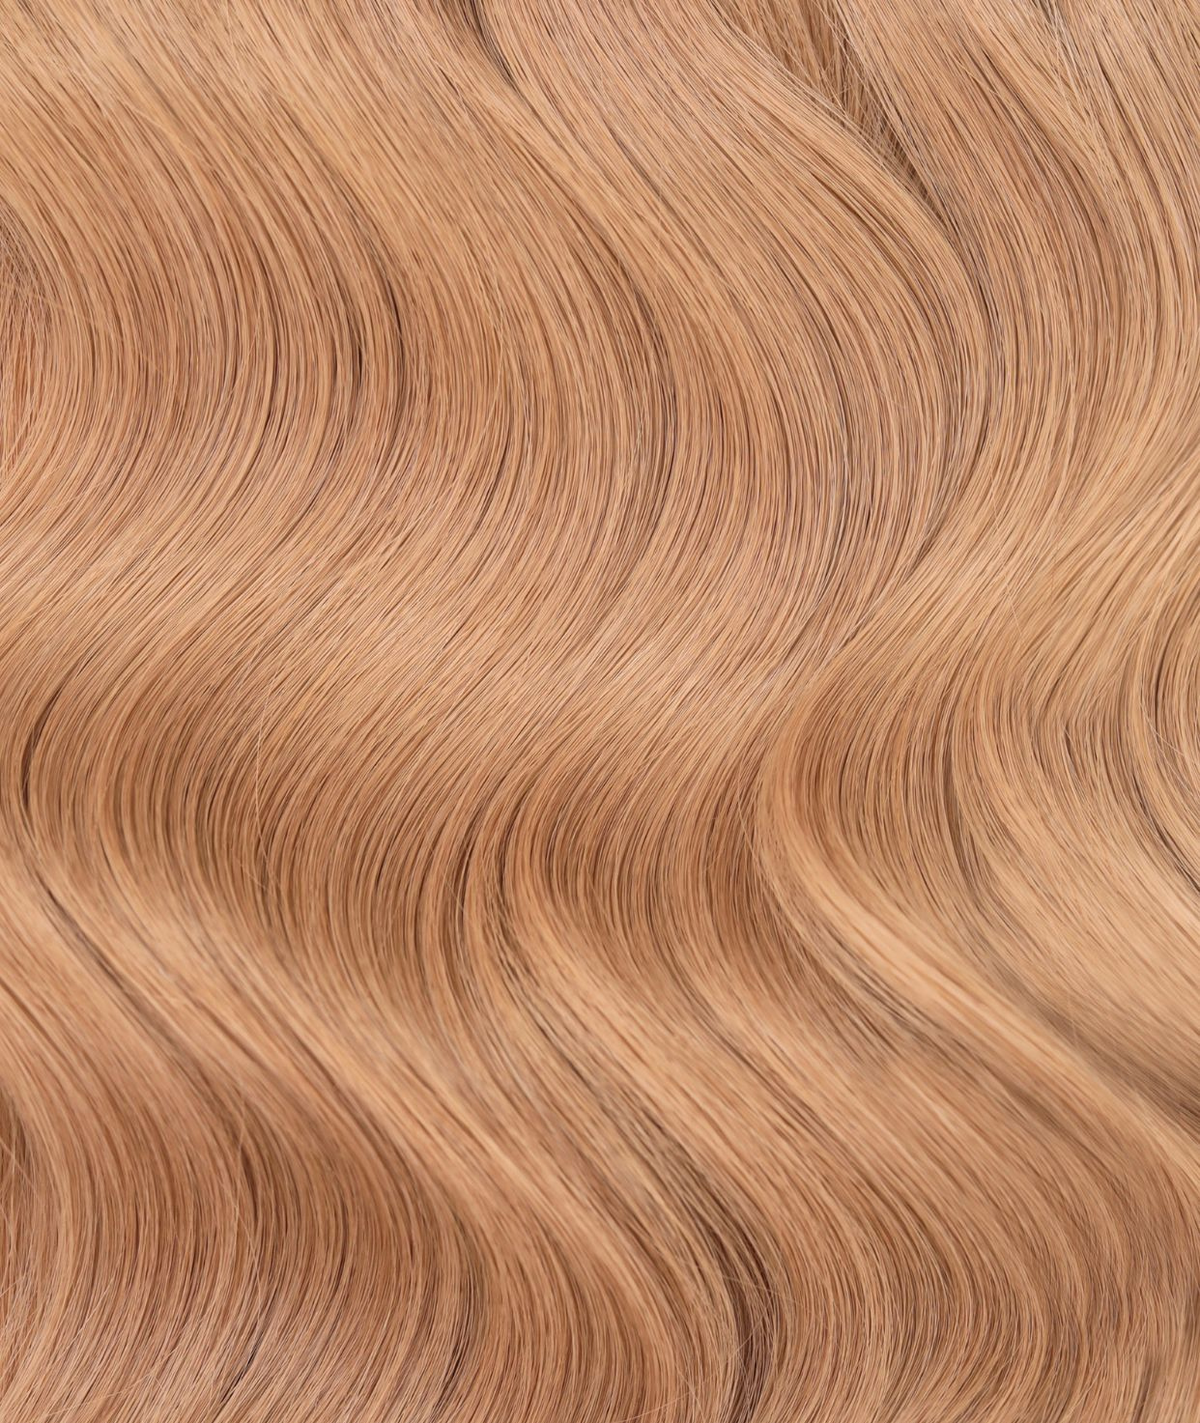
Colour. Match the extensions to the mid-lengths and ends of your hair, not your roots, because that is the part they sit against. If your hair has highlights or a grown-out root, a highlighted or balayage shade often blends better than a solid colour.
Length. A big jump in length makes your own ends look thin against the extensions. For a first set, a moderate length blends more easily than the longest option.
Texture. Superior Hair clip-ins are 100% Remy human hair and arrive smooth, so you can curl or straighten them to match your texture. Loose waves through both disguise any difference in density.
Common placement mistakes and how to fix them
- Wefts placed too high. If clips show when the wind blows or you tuck your hair behind your ear, move Row 3 down or leave it out.
- Clipping too close to the parting. Keep at least 3 cm of your own hair between the top weft and your part.
- Stacking wefts directly on top of each other. Wefts closer than two finger-widths create a bulky ridge. Give each row its own band of hair.
- Uneven sides. Use the same size weft on each side and check the length in the mirror before you style.
- Clips that pinch or ache. The clip is gripping too little hair, or sitting on the scalp. Re-clip it a fraction further from the root with a slightly wider section.
Applied and removed properly, clip-ins are one of the gentlest methods. Long periods of root tension are the main risk, which is why they should never stay in overnight. Our honest answer on whether hair extensions damage your hair goes into more detail.
Taking them out and looking after them
Remove clip-ins in reverse order, from the face frame and sides down to Row 1. Open each clip fully before you slide it out; pulling a closed clip drags on your hair. Take them out before you sleep or swim.
Clip-ins do not get oily like your scalp, so they only need a wash every 10 to 15 wears. Use alcohol-free and sulphate-free products, never brush them wet, and do not bleach or dye them. Use heat protection, keep hot tools off the weft and clips, and store the set flat in its box, wefts in order. Cared for this way, a set can last up to a year. The full routine is in our hair extension care guide.
Ready to try the placement map yourself?
Our 9-piece classic clip-in sets are built for the full five-zone map, in 100% Remy human hair across more than 30 shades.
Shop classic clip-in extensions →Clip-in extension FAQs
How do you apply clip in extensions for the first time?
Start with dry, brushed hair and lay your wefts out from widest to smallest. Part a horizontal section just below the bump at the back of your head, tease the roots lightly, and clip in the widest weft centre clip first. Work upward in rows about two fingers apart, then add small wefts above each ear.
Where should clip-in extensions be placed?
Place the widest weft just below the occipital bone, the next two wefts in rows about 2 to 3 cm apart above it, and small wefts above and slightly behind each ear. Keep every clip at least 3 cm below your crown and parting so your own top layer covers them.
How many clip-in wefts should I use?
It depends on your density. Fine hair usually suits a lighter 7-piece set across two back rows and the sides. Thin to medium hair suits a 9-piece set across the full map. Medium to thick hair often needs a fuller 10-piece seamless set, sometimes with an extra weft at the nape.
How do I stop my clip-in extensions from showing?
Keep the top weft at least 3 cm below your parting, leave a full cover layer of your own hair on top, and space rows about two finger-widths apart. Lightly tease the root so wefts sit flat, match the colour to your ends rather than your roots, and style both together.
Can I sleep or swim in clip-in extensions?
No. Take clip-ins out before sleeping or swimming. Overnight wear puts constant tension on your roots and tangles the wefts, while pool and sea water dry out the hair. Removing them, brushing them through and storing them flat in their box keeps both your own hair and the set in good condition.