
Skip to content
OVERNIGHT SHIPPING BEFORE 2PM
30 DAY RETURNS & EXCHANGES

If you wear a hair replacement wig, it's important to take good care of it to keep it looking great and prolong its lifespan. One of the most important aspects of wig care is washing it. In this blog, we'll be discussing the process of how to wash your hairpiece while it's still attached to your head.

Refer to the video below for a detailed explanation from one of our most loyal customer: 

Step 1: Wet your hair

man wetting his hair in the shower

Let the water run down the hair, until it is nice and saturated.

Step 2: Shampoo
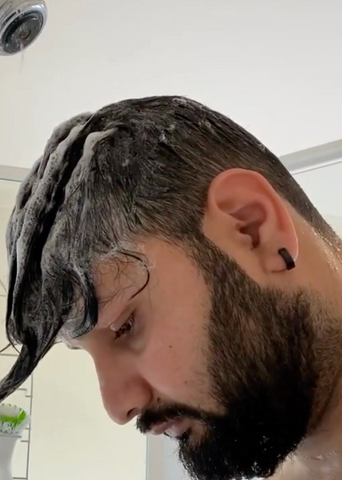
man with shampoo in his hair in the shower

Reach for a paraben and sulfate free shampoo and gently lather it through saturated hair. Massage it lightly, focusing the lathering and foaming of the shampoo on the top of the piece, rather than letting it go underneath. This can slowly breakdown the bond if it goes underneath the piece. 

Step 3: Wash out Shampoo
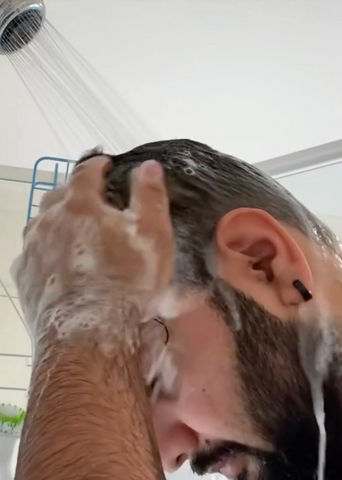
man washing out shampoo from his hair

Gently run the water through hair as you rinse the shampoo out. Run your fingers through to make sure all soapy matter is gone. 


Step 4: Condition

man with conditioner in shower

Reach for a paraben and sulfate free conditioner. Lather this ONLY at the ends of the hair. Lathering this at the scalp can cause falling out of the hair to occur faster. 

Step 5: Wash out conditioner
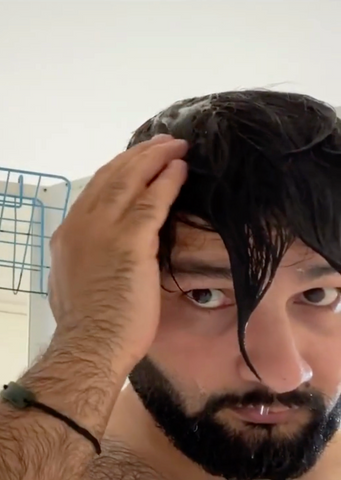
man washing out conditioner from his hair in the shower

Wash out the conditioner, making sure no slimy residue is left. 

Step 6: Dry
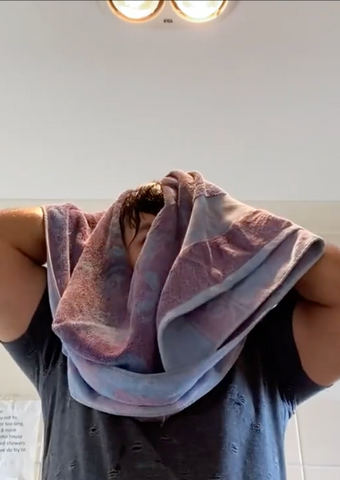
man pat drying his hair with a towel

Gently dry out your hair with a towel first, by patting the towel onto your hair piece. Then remaining water can either be air dryed or blow dried to create a flawless styling of the hairpiece.

Step 7: Oil- optional

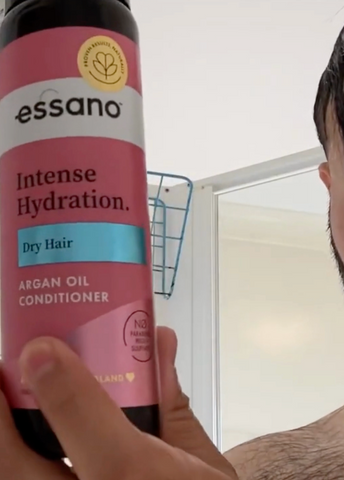
man holding argan oil bottle

This is a highly recommended step, to prolonging your piece. Argan oil is a great option for this. Gently rub a few drops of the oil into your hands, then go ahead and run your fingers through your hairpiece. Oil helps seal moisture into your hair, allowing your hair to stay hydrated and healthy. 

By following these steps, you can keep your hairpiece looking natural and healthy for a long period of time. Remember the key is to be gentle!

News

Women with wet hair

Can I Swim with Hair Extensions?

It’s a common question for those with hair extensions; can you swim with them? In this blog post we offer an answer and give you some tips!

Learn more
Choosing the Right Length Extensions

Choosing the Right Length Extensions

Clip-ins are a great option for easy-to-apply mid length hair extensions, but it’s hard to know what length to buy. We share tips on choosing extension length.

Learn more
Holding Halo Extensions in hand

Easy to Apply Alternatives to Clip-in Extensions

Considering temporary extensions? Clip-ins can take a long time to secure; we discuss ponytails with clips & other alternatives that are quick & easy to apply!

Learn more
Natural human hair wig comparison to synthetic wig

Synthetic VS Human Hair Wigs: What’s the Difference?

Can’t decide between human hair and synthetic wigs? We identify the key differences, from physical feel to handling instructions. Learn more here.

Learn more
Woman with shorter hair with long hair blonde hair extensions

How to Create a Natural Blend for Short Hair

Clip-in hair extensions are a fantastic way to add length and increase volume. Here’s how to blend hair extensions with short hair seamlessly.

Learn more
different coloured hair braided

Where Does Our Human Hair Come From?

People are apprehensive to use human hair products due to unethical methods of sourcing hair. We break down where our real human hair extensions come from.

Learn more
woman wearing wig

Wigs vs Hair Toppers: What’s the Difference?

Wigs and hair toppers for thinning hair are both excellent hair loss solutions but what makes them different from each other? Find out the differences here.

Learn more
Everything you need to know about Superior Hair Halo Extensions

Everything you need to know about Superior Hair Halo Extensions

  Our Halo hair extensions are an easy 3 step process to achieve your most beautiful hair desires. They’re very straightforward and easy to use, especially if you’re on the go or are a first-time extension user. Halo extensions are essentially a thin invisible nylon wire that sits on the top of the hair and are secured by clip ins on both sides of the head.  In comparison to clip in hair extensions they don’t require as much time to install as there’s less clips to secure. Our Halo extensions weigh 180 grams, come in a range of 26 different colors and are currently only available in the 20” inches. What hair type are they most suitable for? Our halo extensions are most suitable for medium to thick hair, and hair length that is slightly passed the shoulders.  Is it secure?  To make sure you have the right fit, the nylon string comes in 6 different sizes: xs, s, m, l, xl, xxl. Choose the right size of string for you so that it fits snug to your crown and doesn’t fall off. Be wary not to fit one that’s too tight either. Aside from the string, you also have clip ins on the side of your halo piece to keep it even more secure.  The 3 Simple Steps to installing your Superior Hair Halo Extension: Step 1: Prepare your hair With a tail comb or even just your finger section the crown of your head and clip it away on the top of your head to keep and hair from falling into your face.Step 2: Install the Halo PiecePlace your halo piece around the section you’ve parted on your crown. Make sure the nylon string is nice and snug; if it isn’t snug or is too tight you might have to change the size of your wire. Secure the halo piece with the clip in attached on each side of the head. Step 2: Install the Halo Piece Place your halo piece around the section you’ve parted on your crown. Make sure the nylon string is nice and snug; if it isn’t snug or is too tight you might have to change the size of your wire. Secure the halo piece with the clip in attached on each side of the head.   Step 3: Install the side pieces Now, if you’ve come to this step, you may find that you don’t necessarily want more volume in the front which is totally fine. You can skip this step. But if you do want more volume at the front to match back, you can use the additional clip ins. Secure the clips ins on each side of the head, keeping in line with nylon wire. You’re all done now! Make sure to brush out to blend all the pieces and style however you want! 

Learn more
Woman smiling with curled halo weft extensions

What Makes Halo Weft Extensions Unique?

Looking for hair extensions that don’t damage your delicate hair? Halo weft extensions are your answer! We discuss how they work and what makes them unique.

Learn more