


You are trying to purchase more products than available in stock.
FREE SHIPPING OVER $150!
FREE SHIPPING OVER $150!

Hair extensions can be difficult to install at first. But, with enough practice, they should only take up 5 mins of your time in the morning. They’re easy, they make you look gorgeous and do zero damage to your hair. What’s there not to like about them?
These are the a step by step guide to how to look flawless with your extensions.
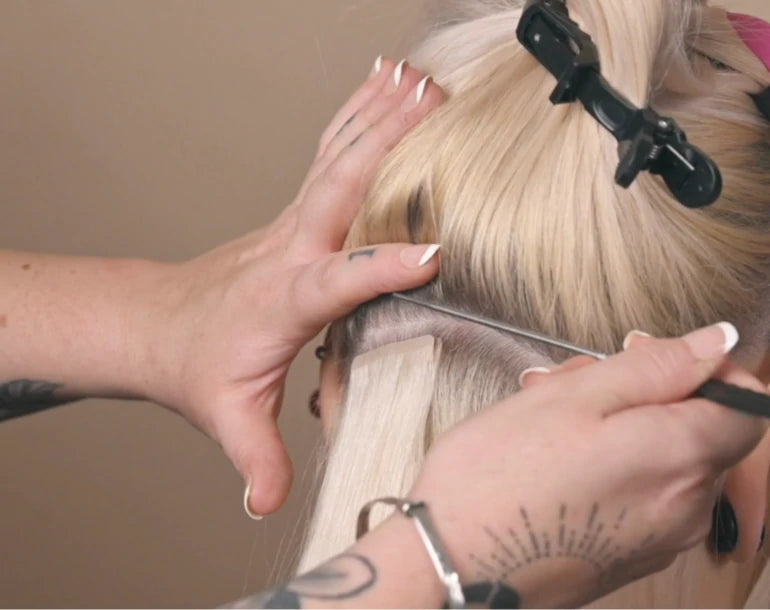
First, you want to install the longest weft. Separate your hair horizontally at the back of your head, around your ears. Make sure the separation is relatively straight, clip it up, and clip in your longest weft. This should be your 4 clip weft. Brush it out and start with the next longest piece.
Your next longest piece could be a 3 clip or 4 clip, depending on your set of extensions. Separate your hair horizontally just above your ears and your first weft installed. Clip it up, and clip your extensions in. Work your way up until you only have the 1 clip/2 clip wefts left.
Your smaller wefts can be installed on the sides of your hair, and are adjustable to how you want your extensions to look.
Take out all of your holding clips, and brush it out. Spray on a heat protectant, and style it however you want!